
I bet that every time you look at those little scratches on the surface of your car, you’re getting irritated. And that’s okay; everyone does. But you can get rid of them very easily, and I am here to show you how.
Of course, there are a lot of various methods to remove a scratch or make minor repairs to the surface of your car, but have you ever thought about how to wet sand a car? Thanks to the wet sanding method, you can remove many imperfections and return the shine to your car with just a little touch-up.
And even though you can use the wet sanding technique on wood, or even metal, using it on cars is the most popular way. That’s because this is the easiest method to successfully remove the scratches that bothers you and give your car that new, fresh look again. So without further ado, let’s see how to do that.
How to Wet Sand a Car
Usually, wet sanding a car is mostly used when there is a deeper scratch. Wet sanding acts by removing a thin layer of paint. Removing that thin layer makes the scratches no longer visible, so that’s how the magic happens.
Also, many people use this technique after getting their car painted. Often the texture of the new pain can be a bit uneven, so wet sanding the car is the easiest way to fix that.
But no matter the reason why you are thinking about using this method, the things you will need and the steps to do that are the same, so let’s start.
Things you’ll need
To wet sand your car, you will need three things: sandpaper, liquid, and an applicator.
Sandpaper
You don’t need to use regular sandpaper to do this. Regular sandpaper is rough, and it can scratch your car even more. What you need is specially-made sandpaper for cars. But pay attention to the sandpaper depending on the scratch you want to remove.
So, you need to use at least 1200 grit sandpaper, which is flexible, medium sandpaper. But if you are dealing with deep scratches, don’t be afraid to get 1500-grit sandpaper. If the scratches are light, you can use 2000 or 3000-grit sandpaper, which will allow you to remove them effortlessly.
Liquid
You don’t need to spend money and buy a special liquid for wet sanding a car. You can use automotive soap and water, but if you don’t have it, all you need is water and maybe a little bit of soap. You can even use a dishwashing detergent, which is even better.
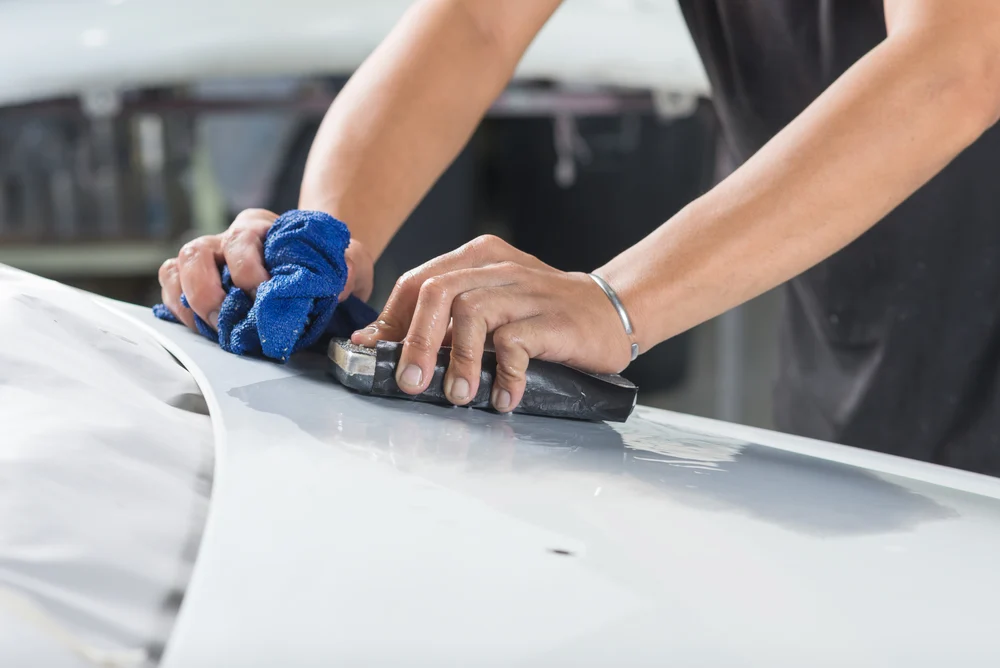
Applicator
To use the sandpaper properly, you will need an applicator. That can be some kind of a pad or a squeegee, whatever feels best for you. The important thing is to avoid using your hands directly because the result will be uneven, which can make things look worse. Just get an applicator on which you can wrap the sandpaper and use it to wet the sand on your car.
Additional items
Proper sandpaper, liquid, and applicator are the most important things, but there are some additional items that you will need, like a bucket for the liquid, a sponge to clean your car, scissors to cut the sandpaper, and microfiber towel to dry the place on which you are going to work.
You don’t have to, but I also recommend you wax your car after you are done wet sanding it because the wax will give it the needed gloss.
Also read: How to Remove Tar From Car
Step-by-step instructions
Step 1. Clean the area
The first thing you must do before starting is to clean the area that needs to be fixed. Do that by getting a sponge and mixing soap with water. Use them to remove the dirt from the area you are going to work on. When you are done, you can use a microfiber towel to dry your car.
Step 2. Cut and soak the sandpaper
Take a pair of scissors and cut the sandpaper into longer strips or any form that you think will be easy to wrap around your pad. Then, fill a bucket with the liquid of your choice, put the strips into the liquid, and leave them for 5 minutes in it. Then take a strip and wrap it around the pad.
Step 3. Keep the surface wet
Keep the surface you want to repair wet. Keep adding water to the area you are repairing and also on the sandpapers. That’s the main difference between wet sanding and dry sanding in a car. So don’t worry about adding too much liquid because it can never be too wet.
Step 4. Pay attention to the pressure
Start wet sanding, but pay attention to the pressure you are applying. You need to keep applying the same amount of pressure all the time while doing this. And remember to be gentle, as you won’t be able to undo what you’ve already performed.
Also, combining circular and back-and-forth motions with your hand is the best motion to remove a scratch.
Step 5. Rinse and wax the area
When you are done, don’t forget to rinse the area on which you have been working. Use lots of water, as this will remove any leftover dirt, and the area will be clean and smooth. After you are done, dry the area using microfiber towels. The final touch will be adding some wax to your car to provide a glossy and smooth finish.
Conclusion
Now you know how to wet sand a car like a real pro, but still, be careful and do that slowly. This is a delicate job, so you don’t want to make a bigger mess and damage your car even more.
The entire process is easy and will save you a trip to the mechanic and spending your money. Just be precise, gentle, and patient, and everything will turn out fine!