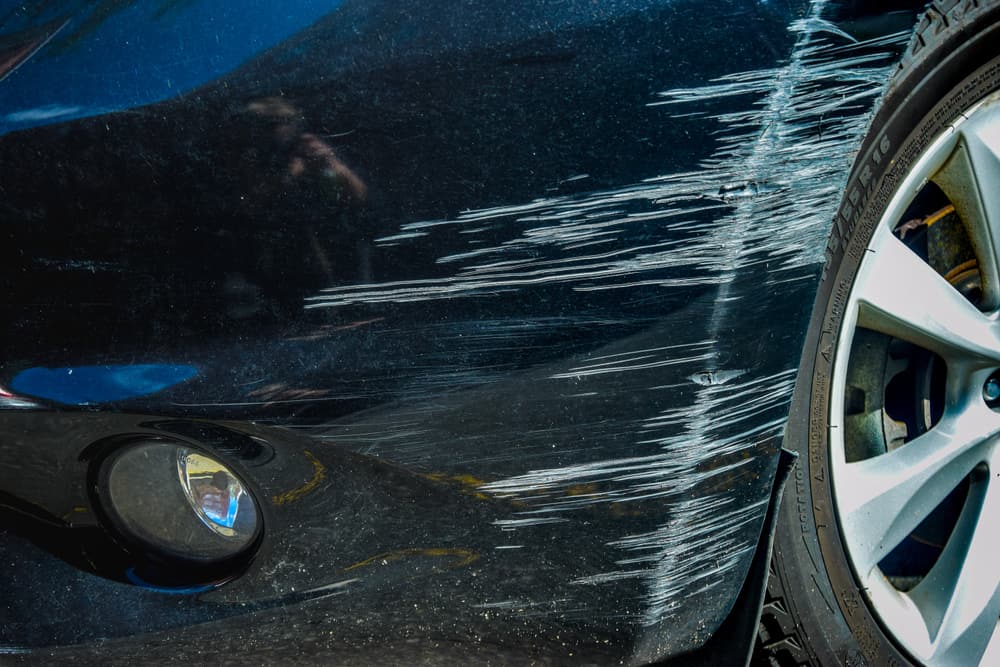
A deep scratch on your car is not just frustrating, but it can also expose your paint or the metal beneath the elements. Another negative side is that it can decrease the value of your vehicle.
Even the most careful drivers sometimes get their cars scratched for different reasons. It can be frustrating and annoying to see your vehicle with one big ugly scratch or more minor but noticeable tiny scratches. Maybe it is someone else’s clumsy driving, perhaps it is your fault, or maybe you have a kid running around in the garage with a pair of keys in their hands.
However, deep scratches can be fixed, and in our “how to fix deep scratches on car” article, we will elaborate in detail on how you can quickly resolve any scratch and make your car shine again.
The good news is, you don’t have to resign yourself to high repair fees to fix the scratches on your car. With our guide, you can learn how to do it yourself. All of the practices that we will suggest are highly effective with large or deep scratches, but in the end, you still may want to visit a professional service for a complete repair.

How to Fix Deep Scratches on Car
Paint scratches won’t damage your car in the long term if you know how to take care of them. The blemishes are irrelevant; what matters is how you approach fixing each type of scratch.
Vehicle scratches happen more frequently than you think, whether it is from loose pebbles, careless drivers, chipping away at your paint, or even some keying here and there. If the scratches are not dealt with quickly, the bare metal on your car can rust within a few days. This can be frustrating for the car owner and cause some severe headaches. The good news is that we have the solution.
Here are the five steps that you need to do to fix the deep scratches on the car:
- Clean and repair
- Apply the color coat
- Apply the clear coat
- Flatten the area
- Finish up
Let’s explain each step individually and dive into more detail about what should be done throughout the whole process.
Read more: How to Fix Scratched Windshield
Clean and repair
As you can probably guess, the clean and repair process is washing the car first and afterward starting the process of fixing the deep scratches.
Washing your car
You can start by washing your car with shampoo and a sponge made with a microfiber cloth. You are probably familiar with every step of how to clean your vehicle deeply, so we won’t bore you with that information. However, a friendly tip from us is to leave the car completely dry after washing before you start taking action on the scratches that are always on your mind.
Notice the scratches
After the fresh clean-up, you can accurately assess the depth of the scratches. In a best-case scenario, the damage will only expose the primer. If the metal is exposed and is already rusted, it may be too late to fix the scratch, and you need to search for an article about how to paint metal.
Prepare the area
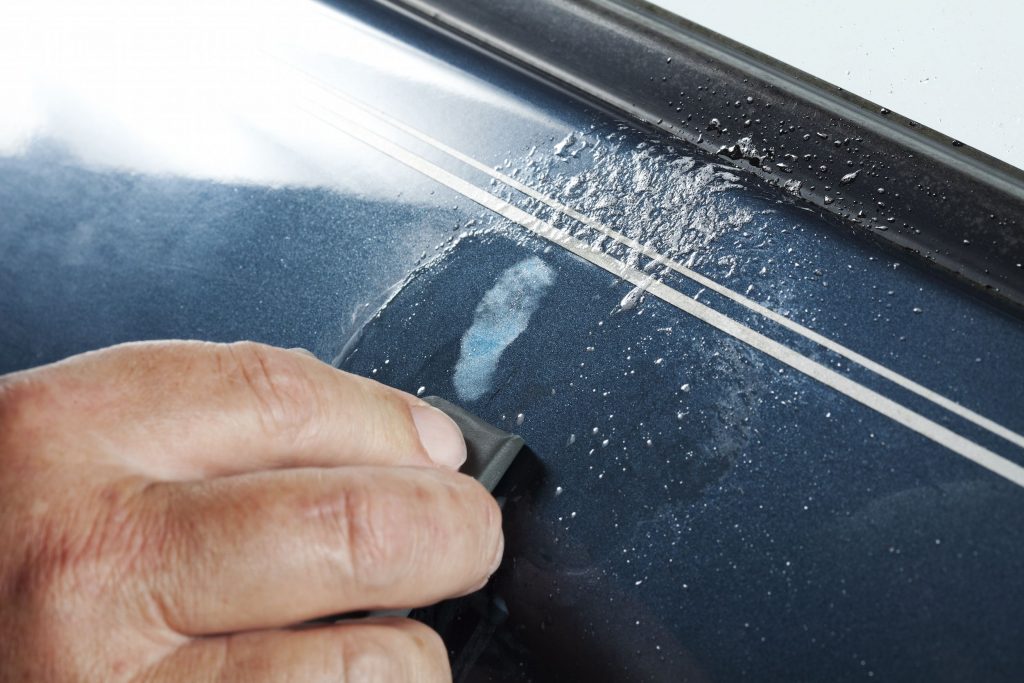
You can prepare the area by masking tape and newspaper to cover the surrounding area and avoid over-spraying. You only need to use a paint rubbing or cutting compound around and on the scratch. To remove a skinny layer of the surrounding paint, you can use circular motions, and you need only to cover a couple of centimeters on each side of the scratch. This will help later on in the process when you are blending new coats.
Apply the color coat
As you probably know by now, you will have to purchase a touch-up paint that perfectly matches your vehicle’s paintwork. Using a simple color match checker online can do the job for you and will also give you the correct year of your car and the manufacturer behind it.
The only thing left is to use a paintbrush or cocktail stick or spray the color coat on the car in thin layers. The key here is to build the paint just below the level of the surrounding clear skin. Between paint applications, you should leave about 10 to 15 minutes so the paint can dry. This depends on the temperature.

Apply the clear coat
Once you are happy with your job of color coating and the paint has completely dried, you need to apply the clear coat in thin layers to sit just above the surrounding paint. The same rule applies here, leave between 10 to 15 minutes between applications. You also might need to go the color to be appropriately firm, and that will require a day or two before moving on to the next step.
Read more: How to Fix a Peeling Clear Coat
Flatten the area
Last but not least, you need to smooth the area so it is flat. This will make the new layer unrecognizable and will successfully blend with the original paint.
You need to use fine grit and dry sandpaper to file the site. If you don’t have these tools, you can also use an abrasive cutting compound depending on the scratch. As we mentioned previously in the preparation process, work the mixture in circular motions and go a couple of centimeters on each scratch side.
Finishing up
We recommend using polish instead of a polishing compound in the finishing process. This will provide your vehicle with a professional quality finish. The polishing process doesn’t require any instruction, and if you are eager to give your car a radiate shine, you can use wax and buff for that extra sparkle.
Other Methods for Deep Scratch Removal
If you have a deeper than average scratch to take care of, you will need to use different materials. If you need any additional options than the ones we provided in how to fix deep scratches on car reviews, you can use a couple of different methods that can also be helpful.
You can try using glazing putty, which will fill the void and allow you to repaint the damage on the surface of your vehicle. You can also use a scratch repairing kit or try painting over the scratches.
Conclusion
Although it may seem like a daunting task, fixing deep scratches is achievable and doesn’t require much expense or expertise when it comes to auto body repair. Our “how to fix deep scratches on car” article has various options that you can do and make the scratches unnoticeable in no time.

