It takes a little for condensation to start appearing in your headlights. Since it can cause serious problems and damage to your car, you should take care of it promptly. So if you’re wondering how to remove condensation from headlights, worry not. There are many effective ways to address this issue.
In our practical guide, we will share some expert tips for removing stubborn condensation from your headlights. We will provide some tips and tricks on removing the condensation and permanently solving the issue.
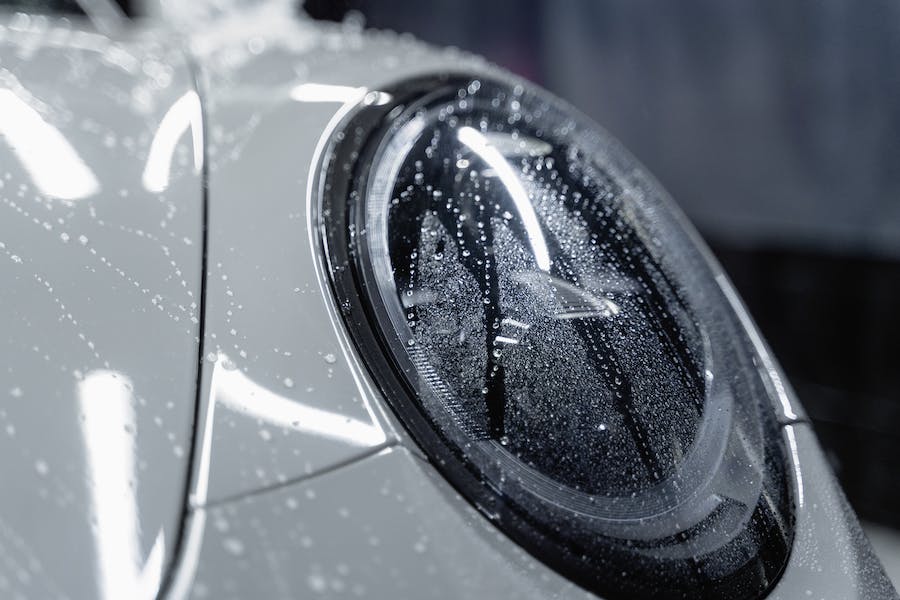
How to Remove Condensation From Headlights
Noticing condensation inside your headlights is surely a frustrating thing. The first thing that will come to your mind is the aesthetic of your car. However, you should be thinking about your safety.
Condensation in your headlights can limit the effectiveness of the headlights and jeopardize your visibility and safety while driving at night. It can also burn the headlight filaments permanently. Due to the risks associated with condensation, you must look for ways how to remove condensation from headlights.
Regarding this issue, you can let professional car detailers like us clean your headlights and remove the condensation. Or you can do it yourself if you know your way around your vehicle.
Suppose you decide to make a little DIY project from this. In that case, there are a few methods that are proven to work, such as:
- Inserting a silica gel pack into the headlights.
- Heating the headlights with a hair dryer or a heat gun.
- Replacing gaskets and seals.
- Cleaning the headlight housing vent.
- Removing the headlight unit, inspecting, and cleaning it.

Measuring moisture levels in headlights
The method you should utilize on how to make your headlights clear depends on your available supplies and the moisture levels. Hence, it is important to make an assessment of the situation and figure out which technique you should use.
Light condensation
For instance, having almost unnoticeable condensation now and then, you probably won’t need to take any action. If there are sudden temperature changes, it is natural for condensation to appear. The condensation will probably dissipate on its own after a short time.
If you want to speed up the process, you can use a hairdryer or a heat gun to warm up the lens. Use moderate heat, and the condensation should go away.
Another expert tip for speeding the cleaning of minor condensation is parking the vehicle in direct sunlight and removing the bulbs and dust caps. In the meantime, you can check the headlight vents and ensure they are not blocked. Clean them from the debris if necessary so they can continue keeping condensation from building up in the headlights.
Heavy condensation
Regarding major condensation, we recommend removing the entire headlight unit. Proceed with this only if you are sure you have enough time and expertise to remove and place the headlight back on your car.
Steps to Safely Remove Headlight Assembly
If you must remove the headlight to clean the condensation, you should follow these steps:
- Turn off your car and open the hood.
- In some car models, you would have to remove the bumper cover to take out the headlight. This is typically the case when the bumper overlaps with the headlight.
- Find the bolts holding the headlight in place. There should be two or three bolts. Don’t forget to check the headlight’s bottom and sides for hidden bolts.
- Use a socket wrench to loosen the bolts.
- Gently try to pull the headlight from your car to avoid damaging it.
- Unplug all connectors and take the headlight entirely out.
- Place the headlight with the lens down on a flat surface, using a towel or a cloth to protect the headlight from scratching.
- Look for the screws on the headlight and use a screwdriver to remove them.
- Safely store the screws in a container so you don’t lose them.
- Disconnect the bulbs.
The steps for removing your headlights might vary according to your car model. It’s best to check your manufacturer’s instructions and learn how to remove it safely without damaging it.
Checking the headlight for damage and cleaning the headlights
After you remove the headlight, you should check it for damage and clean the condensation. You can do the following:
- Fill the headlight with water and check for leaks or other damages. If your headlight is damaged, you might need to repair it or purchase a new one because it will continue collecting water.
- Clean the inside of the headlight with a clean cloth and entirely dry it with a hair dryer or a hot gun.
- Use a new sealant to reseal the headlights.
- See if the O-rings, vents, bulbs, and electrical connectors are in good condition. If not, replace them.
- Re-assemble the headlight and put it back on the car.
Causes of Condensation in Headlights
There are many reasons why condensation might appear in your headlights. The most common reasons for foggy headlights are moisture and temperature fluctuations. Especially cars with halogen, LED, and Xenon bulbs might have a condensation problem because the light generates excessive heat.
Regarding moisture, there are three possible reasons for headlights to become highly humid and accumulate condensation. The first thing you should check is the vents. They can easily get blocked by accumulated dirt, dust, insects, and other debris.
If the vents are clean and functional, the condensation might be caused by a faulty seal. When the seals are torn or even cracked, they might let moisture inside the headlight, causing condensation.
Lastly, moisture can get in the headlights through a crack, stone holes, or other types of damage to the lens of your headlight. Also, damage to the casing can contribute to condensation occurring in the headlight.
Tips to Prevent Future Condensation
After you have cleaned the condensation, it is important to take all the measures in your power to prevent it from happening. Some of the ways to do it are:
- Regularly cleaning the vents to ensure proper air circulation.
- Checking if the seals are tightened and replacing them if they show signs of wear and tear.
- Regularly inspecting the headlights for cracks, holes, and other damage.
- When possible, park your vehicle in a shaded area and avoid leaving it in extreme temperatures for longer periods.

Conclusion
Now that you are familiar with the most effective ways how to remove condensation from headlights, it’s time to get to work. Ensure you follow our tips and tricks for the cleaning process.
Once you are done, build a healthy habit of taking preventive measures to avoid condensation from occurring in your headlights. But if you require professional assistance, contact us now!