You may be wondering how could possibly a clay bar be useful for car detailing? And you are not alone. Many people are skeptical, but the results speak for themselves. Clay bars are an excellent solution to getting rid of dust particles and other contaminants from your car’s exterior.
The same way people use clay masks in their skincare routines for clay’s detoxifying properties. The material is known for its ability to draw out and get rid of contaminants and impurities, thus improving your skin.
So, it works basically the same way for cars. It removes the vehicles’ airborne particles and industrial fallout and protects them from corrosion.
By using a clay bar to detail your car no more than a few times a year, you will be able to get rid of these corrosive components and protect its exterior.
Furthermore, if you learn how to clay bar a car, you will be able to give your car a new shiny and glassy look with a smooth surface to boot.
Tools and Products Needed
Before you start claying away, you need to know what the process looks like and what tools and parts you will need.
We suggest making a list. You can check them off your list as you collect them. You will need a water hose, microfiber towels, buckets, and dirt traps for the tools list. The parts list includes the clay bar, car wash soap, and a clay lubricant spray.
Make sure to organize the tools and products on a flat surface close to you to reach them when you need them quickly. This will save you time.
Another thing to note is that you should work in a well-ventilated space, or if you have a driveway, do it there if your city permits it.
How to Clay Bar a Car
The longer you leave the dirt and contaminants to stay on your car, the more they will become embedded into your car’s exterior, making it harder to get rid of them.
However, clay bars contain a unique detailing resin that allows them to grab even the most stubborn particles and pull them off of the car’s surface.
Professionals use clay bars for paint correction or for applying a new layer of wax. The professionals get rid of the dirt and manage to create a deeper shine with it.
Today on the market, you can find all kinds of clay products for car detailing like clay towels, mitts, and discs. However, clay bars remain the best and most effortless approach to fast decontamination of your car’s surface.
Read more: How to Wash a Car With Pressure Washer
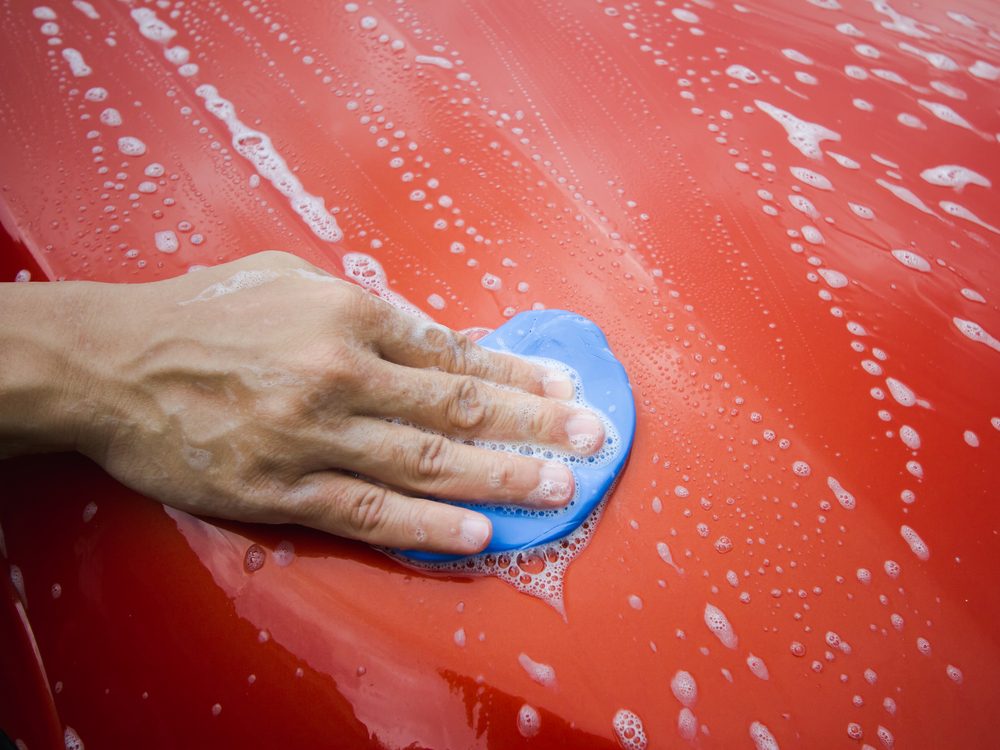
Step 1: Wash and dry your car
The first thing you should do when preparing your car for a clay bar session is to make sure to wash and dry it thoroughly.
You should do the washing up with a car wash mitt and an all-purpose car wash soap. Ensure to scrub your car entirely with the mitt and soap until the dirt, and the contaminants are removed. Then use the water hose to wash off the soap, after which you can dry it out with the microfiber towel.
Step 2: Shape the clay bar
You can separate the clay bar into two halves, use only one, and return the other in its package. The half that you take out, you should shape it into an oval shape roughly the size of your palm.
You do not need more clay than what you can fit in your palm. But, be careful not to drop the clay bar on the ground. As it easily picks up contaminants, you will not be able to use it again if it falls.
If you continue to use it on your car after it falls on the ground, you may damage and scratch its exterior. You should dispose of the contaminated half and retrieve the one tucked away in the package.
Step 3: Apply the clay lubricant
Before you start going over your car with the clay bar, make sure to spray the lubricant onto the surface of the clay bar with which you will glide over the car.
Also, apply the spray directly to the exterior of the car. With this, you will be able to easily glide over the surface of your car without embedding the contaminants into the car’s exterior.
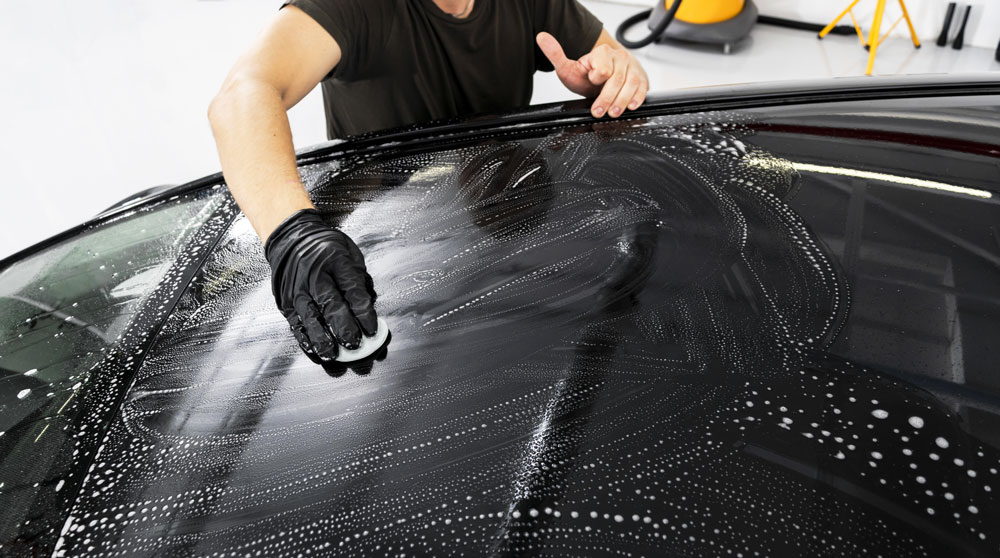
Step 4: Rub the clay over the car
The next step is to start rubbing the clay over the car’s surface area. However, remember to rub it in using a back-and-forth motion to pull the contaminant from the car.
You should avoid circular motions to prevent scratches or other damage to the car’s paint. Once the clay looks dirty, you should knead it and reshape it. Once it is clear again, you can continue to rub it over your car. But, ensure that you also reapply the lubricant.
Read more: How Often Should You Wax Your Car
Step 5: Check the work and apply polish
After you are done with the clay bar, you should check the surface to see if it is smooth or if you need to go over it once more with the clay bar. If the area is smooth, you can go over it with a clean microfiber cloth and wipe away any residue from the lubricant.
Once you finish up the checking, you can wax and polish your car as a final touch and give it that original shine. And then, your car is as good as new.
Read more: How Much PSI to Wash Car
Conclusion
Hopefully, we have been able to provide you with the necessary knowledge on how clay treatments work.
Knowing how to clay bar a car is incredibly useful. It will help you keep your car in top-notch shape and prevent any corrosion from airborne contaminants.
However, you must be careful and follow the guide thoroughly to avoid causing damage to the exterior of your car. To that point, make sure first to buy all the needed tools and to apply them strictly as instructed in our guide.
If you follow along with our guide, your car may look brand new in no time.