Many car lovers and enthusiasts dread the appearance of hard water spots on their vehicles. Not only do they disrupt the aesthetic appearance of the car, but they are also seemingly impossible to remove. In this article, we want to elaborate on how to remove hard water spots from a car and the best practices.
By giving you a detailed insight into the materials needed, you’ll be well-prepared to battle these tacky spots. We’ll also give you an apprehensive guide on thoroughly removing the water spots without damaging your vehicle. Continue reading to discover how to remove hard water stains from a car!
What Are Hard Water Spots, and Where Do They Come From?
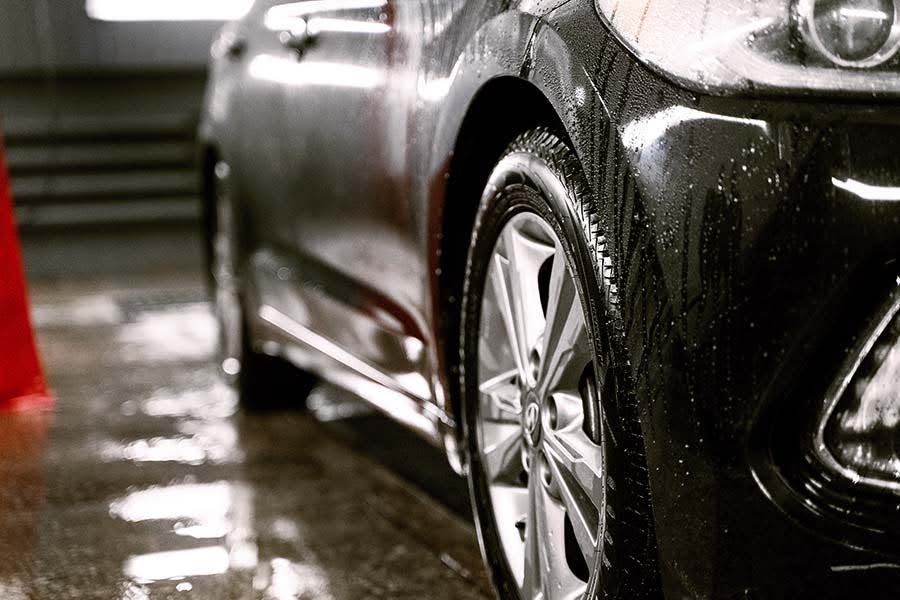
Hard water spots result from water droplet evaporation, which leaves behind mineral deposits like calcium and magnesium. Besides being one of the most common professional exterior car detailing issues, they’re also hard to remove.
Even though the concentration of these minerals varies in tap water, they can cause significant damage to the paintwork if they’re left to dry under the sun. While they may initially look like raindrop white circles, trying to remove them with a wet cloth will result in them appearing again once the surface has dried.
Additionally, it’s possible to remove them using a dry towel before they dry. But it’s impossible to do so after they’ve formed.
We at Epic Detailer recommend removing these water spots as soon as possible because the longer it takes to remove them, the more difficult it becomes. Thus, we will highlight a few ways to eliminate these tricky spots without further damaging your vehicle.

How to Remove Hard Water Spots From a Car
Even though choosing the best hard water spot removal method may vary based on personal preferences, there are a few techniques we highly recommend you try out. They are the following ones:
- Vinegar method
- Baking soda method
- Detailing clay method
1. White vinegar method
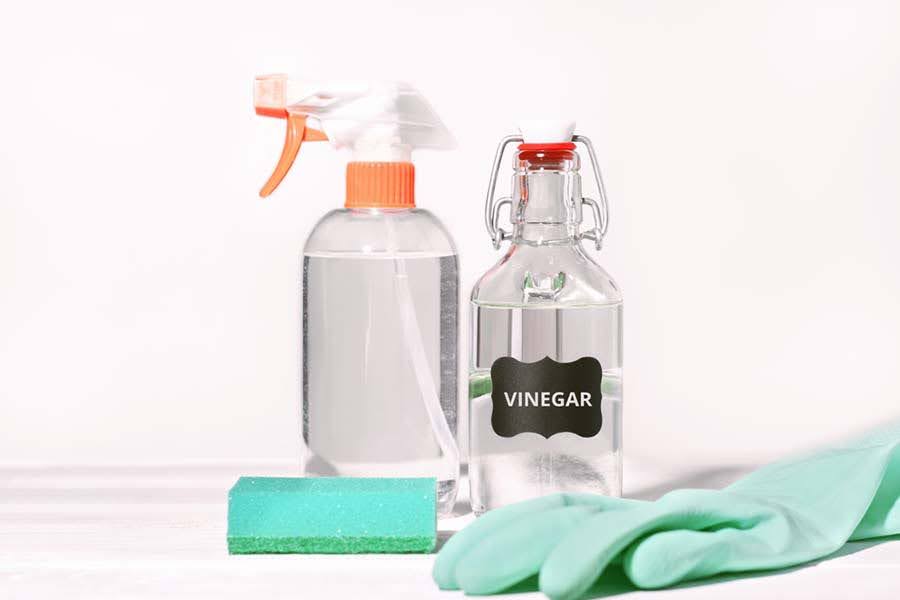
The first hard water spot removal technique you can try out includes the use of white vinegar. Since it’s widely known as a natural cleaning agent, it quickly and efficiently dissolves mineral deposit stains. To better understand how this process works, we’ll inform you about the materials needed and give you a detailed step-by-step guide.
Materials needed
Before you begin cleaning your vehicle’s hard water spots, ensure you have all the needed materials. The ones that are crucial for this process are the following:
- Distilled water
- White vinegar
- Paper towels and microfiber cloth
- Spray bottle and hose
- Bowl or bucket
- Sponge

Step-by-step removal process
Once you’ve ensured you have the needed materials, you can begin cleaning the spots by following this simple guide:
- Step 1: Mix an equal amount of distilled water and white vinegar into a spray bottle. Gently shake it to ensure that both substances are efficiently combined.
- Step 2: Spray the mixed substances onto the surface where the hard water spots are present. Ensure that the area is thoroughly covered for a fast and efficient process.
- Step 3: After you’ve concluded that the surface is covered, take the bucket and pour the remaining solution into it. If you feel the leftover mixture isn’t enough, add more vinegar and distilled water with a 50:50 ratio.
- Step 4: Take the cloth, dip it in the solution, and cover the area with the spots where you’ve applied the same solution. It’s important to wait around two minutes for the minerals to dissolve before you wipe the surface with the same cloth to remove them.
- Step 5: Rinse the vehicle with clean water from a hose and sponge. Ensure you have enough towels to dry it thoroughly to prevent spots from reappearing.
2. Baking soda method
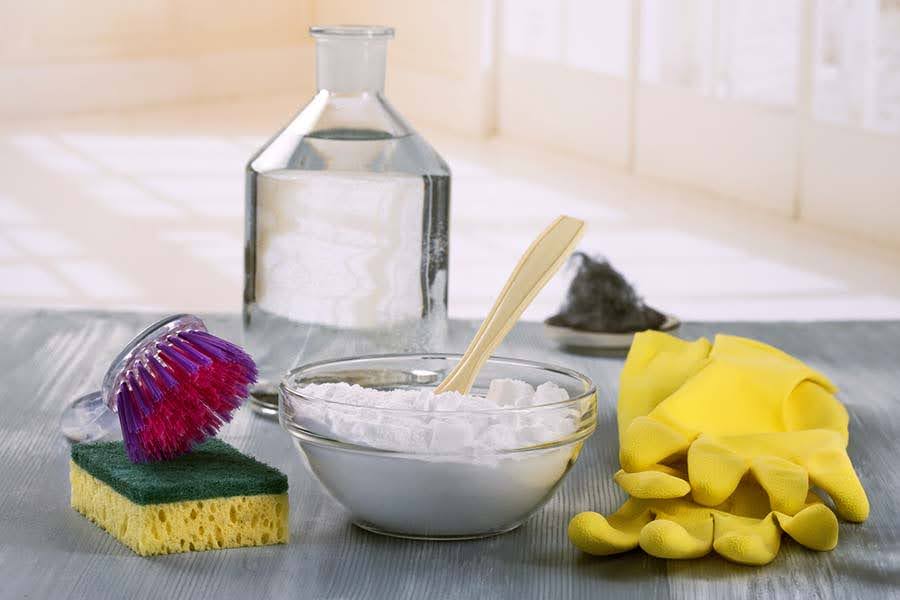
The second hard water spot removal technique you can try out is the baking soda method. Like the previous option, we’ll elaborate on the needed materials and removal process.
Materials needed
If you choose the baking soda method as your primary option, here’s a list of essential supplies you’ll need during the process:
- Baking soda
- Distilled water
- Paper towels and microfiber cloth
- Hose
- Bowl
- Sponge

Step-by-step removal process
After you’ve acquired all the needed materials, here’s the step-by-step spot-removal process you should follow:
- Step 1: Mix 3 parts of baking soda with 1 part distilled water inside the pre-acquired bowl. After thoroughly mixing the cleaning solution, it’ll turn into a paste. Remember to add a few drops of vinegar to enhance its effectiveness.
- Step 2: Take the cloth and apply some of the paste. Then, gently rub enough paste with the cloth on the area where the hard water spots are present and let it rest for 15 minutes. Don’t use too much force to avoid further damaging the vehicle.
- Step 3: Remove the paste with clean water either by rinsing it with a hose and sponge or by using a soft, wet cloth.
- Step 4: Dry the area thoroughly with towels and repeat the process if the spots remain.
3. Detailing clay method
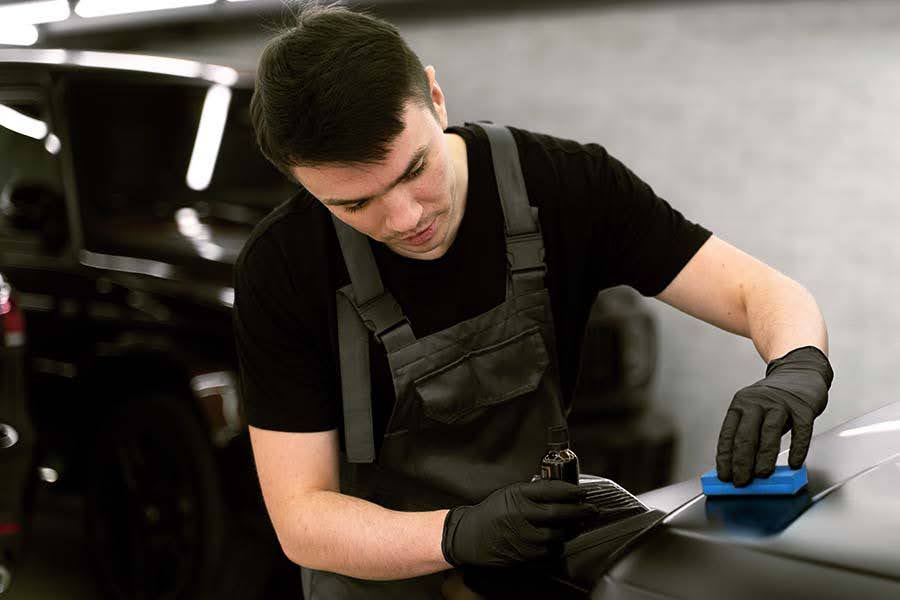
The last method you can try out involves the use of detailing clay. This tool is available in small bars that can be molded in the desired shape.
Many professional detailers use it as an eraser on stubborn hard water spots. However, this claying technique is best used for smaller affected areas because it uses force to remove them.
Materials needed
As with the previous methods, the detailing clay technique requires a specific set of materials, including the following:
- Detailing clay
- Lubricant
- Paper towels and microfiber cloth
- Hose and spray bottle
- Sponge
- Wax
Step-by-step removal process
Even though it may sound more complicated than the previous methods, there are a few simple steps you need to follow for this spot-removal process:
- Step 1: Apply the lubricant packaged with the detailing clay product on the surface with a spray bottle. If the clay you’ve purchased didn’t come with such a lubricant, you can use car wash as a substitute. However, while the lubricant remains clear, the car wash may foam and disrupt your view.
- Step 2: After lubricating the area, you can apply the clay. While rubbing the clay on the affected surface, remember to knead it occasionally to ensure it has a clean surface. If the area is drying quickly, have the lubricant bottle nearby to apply again.
- Step 3: Once you’ve finished the claying process, we recommend rinsing the vehicle with clean water by using a hose and sponge. It’s also important to dry it thoroughly with a cloth or towel to ensure optimal results.
- Step 4: Even though it’s not a necessary step, you should consider waxing the vehicle after the claying process. Doing so will add another protective coating layer to keep your car spotless.

Conclusion
After discovering how to remove hard water spots from a car, it’s up to you to decide which option suits you most. Even though these stains may be tricky, remember to carefully follow the guides and obtain all the needed material for the most efficient results.
If you ever feel uncertain about your ability to tackle such a problem, remember to contact us at Epic Detailer, and we’ll happily find the best solution for you!

